You don’t need to guess what’s behind a boarded-up period fireplace; you can uncover it safely with the right checks and care. Start by inspecting the chimney breast for cracks, damp, and signs of instability before you remove anything. Then use proper tools and protection to lift the boards, clear debris, and assess hidden damage. If you want the original detail intact, what you find next matters even more.
Key Takeaways
- Inspect the boarded-up fireplace first for cracks, damp, rust, blocked flues, and signs of structural movement or hidden damage.
- Remove boards carefully, checking for hidden fasteners and protecting fragile plaster, trim, and original masonry during dismantling.
- Clear soot, debris, and old infill with protective gear, using gentle tools and saving intact historic fragments for reference.
- Repair masonry, plaster, and flue components with matching materials, preferably lime mortar and conservation-grade techniques.
- Clean and maintain the restored fireplace gently, and have it professionally inspected before lighting any fire.
What’s Behind a Boarded-Up Fireplace?
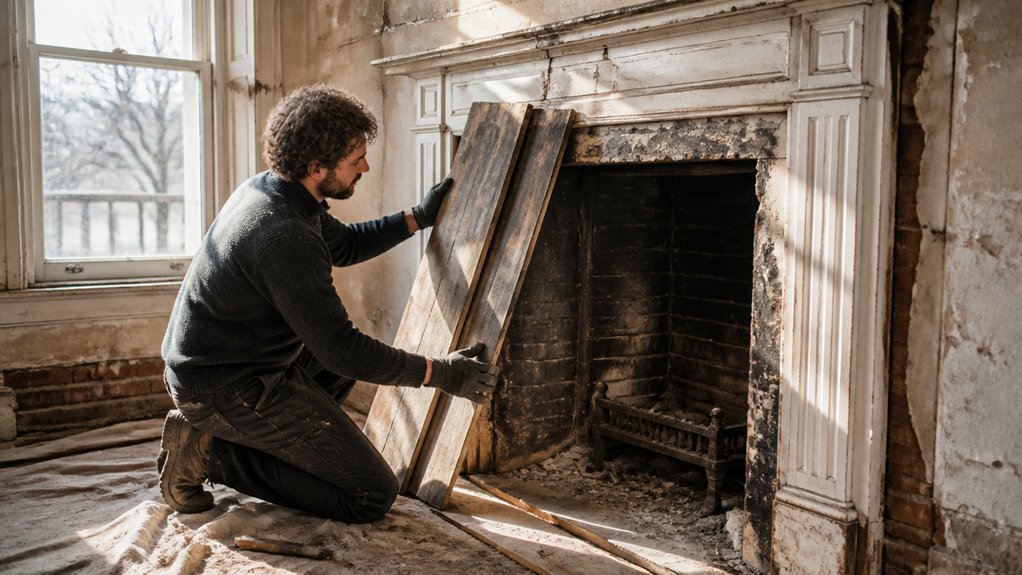
Before you open up a boarded-up fireplace, it helps to know what might be hiding behind it: an intact original surround, a damaged firebox, old soot buildup, loose plaster, blocked flue materials, or even remnants of a previous renovation.
You’re often uncovering more than masonry; you’re revealing Historical context tied to the home’s original function and style. Check for Decorative features like tiled slips, moulded mantels, cast-iron inserts, or carved stone details, because these clues tell you what period you’re working with and what can be restored.
Expect layers of plaster, brick infill, or timber framing added later to seal the opening. If you approach the job methodically, you’ll better understand what belongs, what needs careful preservation, and how to bring the fireplace back into the room’s story.
Look for Hidden Damage in the Chimney Breast
You should inspect the chimney breast for masonry cracks, since even fine fractures can signal structural movement.
Check for deteriorated plaster around the opening, because loose or crumbling finishes often hide more serious decay behind the surface.
Watch for damp staining on the brickwork or plaster, as it can point to leaks, condensation, or long-term moisture damage that needs attention before you proceed.
Inspect Masonry Cracks
Once you’ve exposed the fireplace opening, inspect the masonry carefully for cracks, gaps, and displaced bricks, especially around the chimney breast where hidden movement often shows first. You’re protecting both the Historical significance and the Architectural details that make the fireplace part of your home’s story.
Trace each crack with your eye and note whether it runs vertically, steps through mortar joints, or widens near the lintel. Use a torch to check deep into the reveals and around the opening’s edges.
Small hairlines may be stable, but open joints, loose bricks, or bulging faces signal stress that needs professional assessment. Don’t force anything apart. Instead, record what you see, so you can plan repairs with confidence and keep your restoration community grounded in shared care.
Check Deteriorated Plaster
If the chimney breast still carries old plaster, check it carefully for cracking, bulging, staining, and hollow-sounding areas, since these often reveal hidden movement or damp behind the surface. You’ll want to map every flaw before you disturb anything, because plaster deterioration can spread beyond the visible edge.
Tap gently with your knuckles; a drumlike sound often means the coat has detached from the lath or masonry. Scrape back only loose material, keeping sound areas intact so you don’t enlarge the repair.
Look for soft edges around openings, patched sections, and brittle Decorative finishes that may hide earlier fixes. If the plaster crumbles easily or separates in sheets, treat the breast as unstable and plan for careful consolidation before any cosmetic restoration.
Spot Damp Staining
Damp staining often shows up alongside cracked plaster, and it can tell you a lot about what’s happening inside the chimney breast. You should inspect the area for tide marks, dark patches, peeling paint, and salt deposits, because these signs often point to trapped moisture.
Use moisture detection methods, such as a simple meter or careful touch, to compare the centre of the breast with drier surrounding walls. If the staining is active, don’t rush to open the fireplace fully. You may be dealing with a leaking flue, failed flashing, or blocked ventilation.
Mark every stained area, photograph it, and note any musty smell. That record helps you and your contractor make informed decisions together, protecting both the structure and the history you’re uncovering.
Gather Tools and Safety Gear
Before you start removing boards or plaster, gather the right tools and safety gear so you can work methodically and avoid damaging the fireplace or exposing yourself to hazards. You’ll want a sturdy pry bar, utility knife, hammer, dustpan, flashlight, tape measure, and a magnetic scanner for hidden nails.
Wear safety glasses, cut-resistant gloves, a P2 or N95 respirator, long sleeves, and sturdy boots. Keep a bucket nearby for debris and a roll of painter’s tape to label any loose pieces you save.
This preparation supports the fireplace’s historical significance and helps you protect architectural preservation standards while working. When you’re organized, you’ll feel part of a careful, informed team restoring a period feature with respect and confidence.
How to Remove Boards Safely?
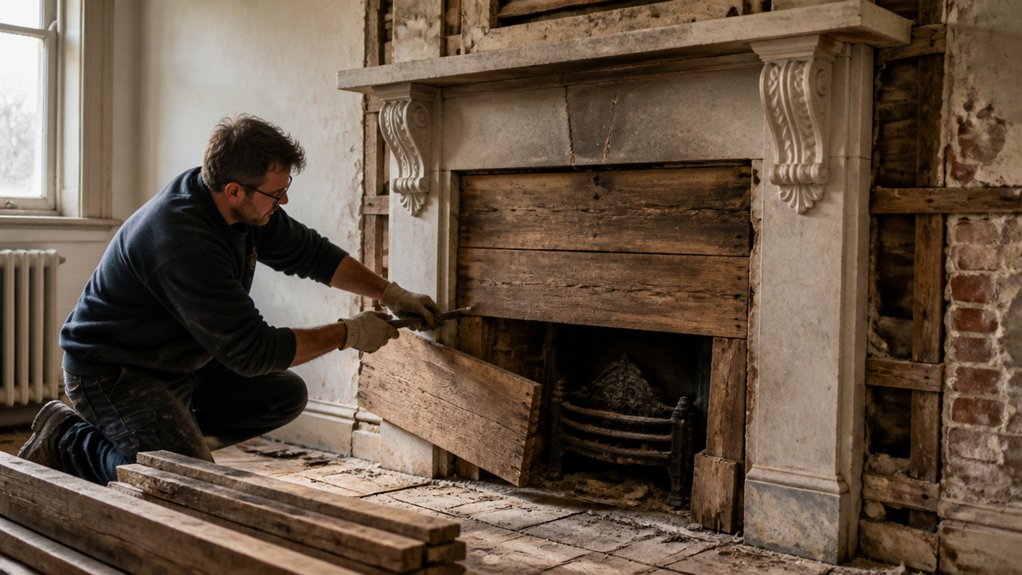
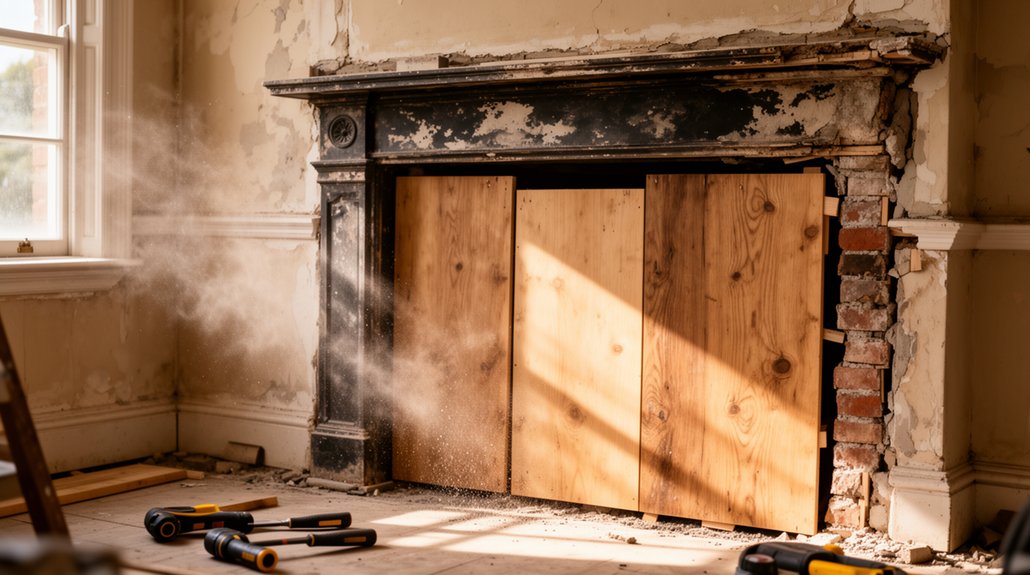
With your tools and safety gear ready, you can start taking the boards down methodically. Score any paint or caulk along the edges so the board won’t tear surrounding plaster. Back out screws or pry nails gently, working from the center outward and supporting each panel as it loosens.
If a board resists, check for hidden fasteners before you force it. Lift pieces away one at a time and stack them aside to avoid damaging nearby decorative finishes. Keep your pace steady and deliberate, because this opening affects the fireplace’s historical significance and the room’s character.
As you uncover each section, inspect the opening’s perimeter for fragile trim or loose masonry, and handle every surface as if you’re preserving a shared piece of home history.
Clear Out Debris, Soot, and Old Fillers
Once the boards are off, you can clear out loose debris, soot, and any old filler materials from the fireplace opening. Wear gloves, a mask, and safety glasses, then scoop out dust, plaster crumbs, and crumbling mortar with a small shovel or vacuum fitted with a HEPA filter. Work slowly so you don’t spread grime into the room.
If you find packed newspaper, foam, or cement patching, remove it carefully without gouging the surrounding brick or stone. Save any intact fragments that may help you understand the fireplace’s historical significance.
As you clean, note decorative accents like tile edges, carved surrounds, or original ironwork. Keep the opening tidy, because a clean cavity lets you and your restoration team assess the space with confidence and care.
Check the Flue, Lintel, and Hearth
Check the flue for blockages, cracks, or signs of past damage before you go any further, since poor condition can affect both safety and performance.
Inspect the lintel for sagging, rust, or movement, and make sure it still bears the opening properly.
Then examine the hearth for cracking, instability, or heat damage, because any weakness here needs to be corrected before restoration continues.
Flue Condition Check
Before you open up a boarded fireplace fully, inspect the flue, lintel, and hearth for hidden damage, damp, or instability.
Start with a careful Flue inspection: look for blockages, cracked liner sections, soot staining, bird nests, and signs of past fires. Use a torch and mirror, or a camera sweep, so you can trace the passage as far as you safely can.
A Ventilation assessment matters too, because poor airflow often signals hidden obstructions or collapsed masonry. Check for musty smells, moisture marks, and loose debris at the opening.
If you spot heavy deposits, structural gaps, or active damp, pause and call a qualified sweep or mason. You’ll protect the room, keep your restoration on track, and join the homeowners who uncover period features safely and confidently.
Lintel And Hearth Inspection
With the flue cleared as far as you can safely assess, turn your attention to the lintel and hearth, because both carry clues about the fireplace’s condition and any hidden risk.
Check the lintel for cracks, sagging, loose mortar, or rust if it’s steel; any movement means you should stop and call a specialist.
On the hearth, look for settlement, heat damage, loose tiles, or damp staining that may point to chimney ventilation problems.
Use a torch and a straightedge to judge level and alignment, but don’t pry at fragile edges.
If the materials suit the historic design, document them before you change anything.
You’re not just preserving a feature; you’re protecting a shared piece of the building’s story and keeping the opening safe for future restoration.
Repair Damage Before You Restore
Once the fireplace opening is exposed, repair any cracks, loose masonry, missing mortar, or damaged plaster before you start restoring its finish. You’re protecting the structure and honoring its Historical significance and Cultural context at the same time.
Use a trusted mason or conservation plasterer if the damage is beyond minor patching, especially where movement or crumbling edges suggest deeper issues. Match repair materials to the original fabric so the fireplace keeps its period character and stays stable for years to come.
Work patiently, because rushed fixes can trap future problems behind a pretty surface. When you address damage now, you create a safer, stronger base for the next restoration steps, and you join the people who care for these rooms with respect and confidence.
Clean and Repoint Brick or Stone
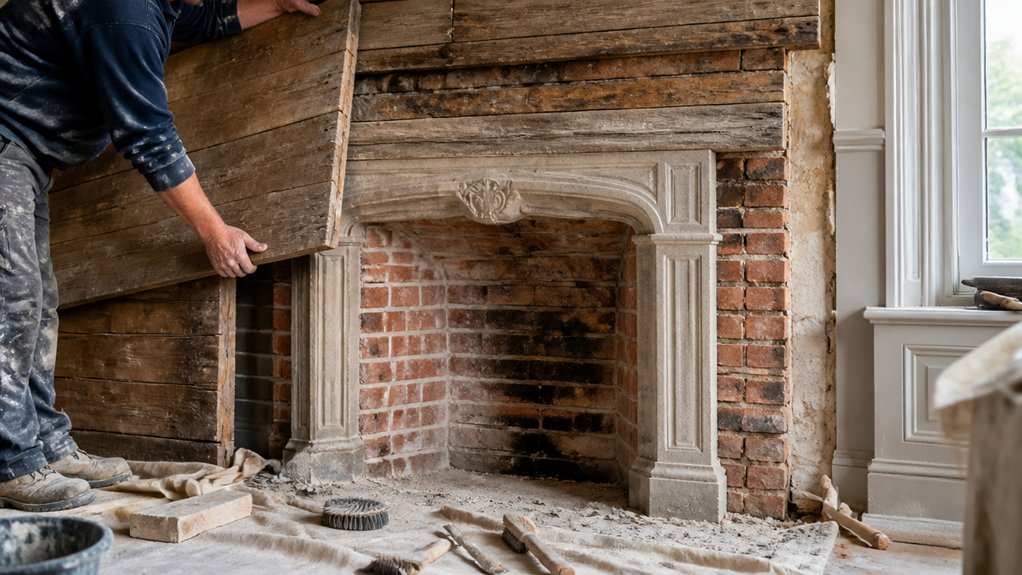
Check the brick or stone and the mortar joints first, noting any loose, crumbling, or missing areas before you start.
Clean the surface gently with the least aggressive method that removes soot, dust, and old residue without scarring the masonry.
Then repoint the joints with a matching mortar mix so the repair blends in and the fireplace stays sound.
Assess Brick And Mortar
Before you touch the surround, inspect the brick or stone for loose joints, crumbling mortar, hairline cracks, and previous patch repairs, because these clues tell you how much cleaning and repointing it needs.
You’re not just checking damage; you’re reading the fireplace’s historical significance and the architectural styles it represents. Note any soft, powdery mortar, mismatched repairs, or bricks that have shifted out of line.
Tap lightly with a fingertip or wooden handle to find hollow spots, and compare the color and texture of existing mortar with nearby joints.
If you’re preserving a period room, stay faithful to the original materials and profile so the work looks right in the home.
When you assess carefully, you join the long line of caretakers who protect old fabric with respect and precision.
Clean Surface Safely
With the brickwork and mortar mapped out, you can clean the surface carefully and decide where repointing is needed.
Start with Dust removal using a soft brush and a vacuum fitted with a nozzle, so loosened soot doesn’t settle back into joints.
For Surface cleaning, wipe the brick or stone with a barely damp sponge and a mild, pH-neutral cleaner; work in small sections and rinse lightly.
Don’t soak historic masonry, and avoid wire brushes, harsh acids, or power washing, which can strip faces and widen damage.
As you clean, watch for crumbling edges, open joints, and soft patches.
Keep your tools gentle and your pace steady, and you’ll preserve the character you uncovered while preparing the fireplace for the next repair step.
Repoint With Matching Mortar
When the joints have been cleaned and any weak material brushed out, repoint them with a mortar that matches the original in color, texture, and strength. You’ll protect the masonry and preserve historical accuracy by choosing a compatible lime-based mix, not a hard modern cement.
Test small samples first; mortar matching matters because a slight color shift can disrupt the whole fireplace. Pack the new mortar firmly into the joints, then tool it to suit the existing finish, whether flush, recessed, or lightly struck.
Keep the work damp as it cures so it doesn’t crack. Take your time, and you’ll keep the period detail intact while joining a careful restoration community that values authenticity and craftsmanship.
Make the Fireplace Safe for Modern Use
Once you’ve uncovered the fireplace, have the structure inspected and cleaned so you know it’s safe to use. Ask a qualified hearth professional to check the flue, liner, damper, and masonry for cracks, blockages, and hidden damage. You’ll protect the fireplace’s historical significance while confirming it can handle heat, smoke, and regular use.
If you plan to burn wood, have the firebox sized and the opening evaluated for proper draft and clearance. Test the smoke path before lighting a full fire, and correct any issues before moving ahead.
Keep the opening true to the original design during aesthetic restoration, but make every modern adjustment meet current safety standards. That way, you can enjoy a period feature that feels authentic, welcoming, and ready for your home.
Protect Your Restored Period Fireplace
After you’ve confirmed the fireplace is safe to use, protect it from wear so its restored period character lasts. You should dust brick, stone, or tile with a soft brush, then clean only with pH-neutral products approved for heritage surfaces. Keep harsh cleaners, abrasives, and pressure washing away; they’ll erode joints and finishes.
If your hearth is Fireplace decorative, place a discreet guard to reduce soot splatter and accidental contact without hiding the design. Repoint any loose mortar promptly, and seal only where a conservator recommends it.
Maintain good ventilation to limit moisture, and check annually for cracks, staining, or heat damage. By caring for the fireplace this way, you honor its Historical significance and keep your home’s shared story strong.
About the Author