
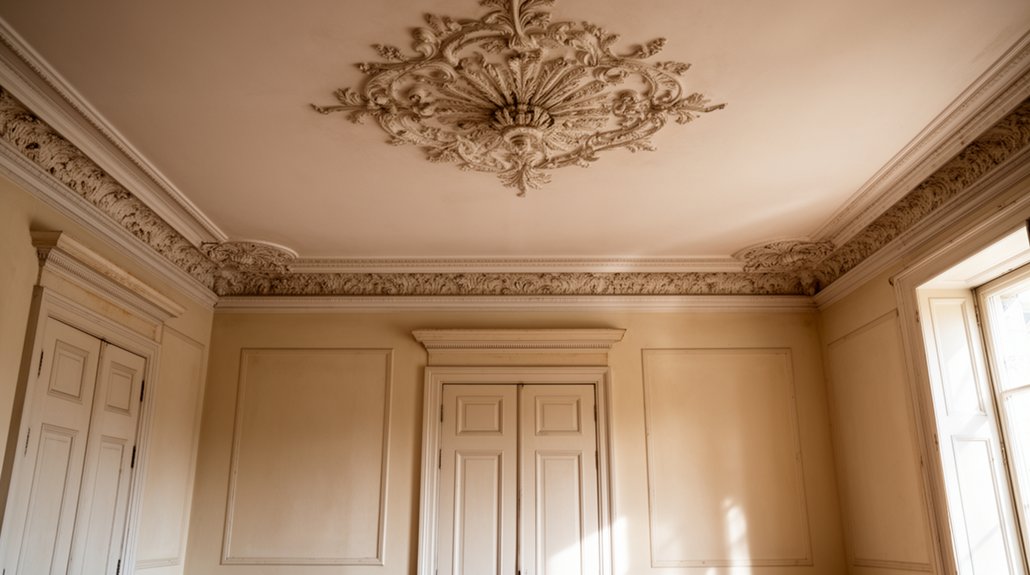
When you restore original plasterwork, cornices, or a ceiling rose, you’re balancing repair with preservation, and every decision matters. You’ll need to assess damage carefully, measure surviving details precisely, and choose materials that match the building’s age and finish. The real challenge is making repairs disappear without erasing history, and that starts with knowing what to preserve, what to rebuild, and where the hidden risks usually are.
Key Takeaways
- Assess plasterwork carefully first, identifying cracks, bulges, loose areas, staining, and underlying causes like moisture or movement.
- Match original cornice and rose profiles precisely using templates, measurements, and neighboring details to preserve historic accuracy.
- Repair cracks and loose plaster with compatible lime-based materials, stabilizing sections before filling in thin, careful layers.
- Restore missing ceiling rose details by studying the room’s style and scale, then rebuilding with minimal intervention and patience.
- Protect finished repairs with breathable materials, moisture control, gentle cleaning, and regular inspections to preserve the original craftsmanship.
How Do You Assess Plasterwork Damage?
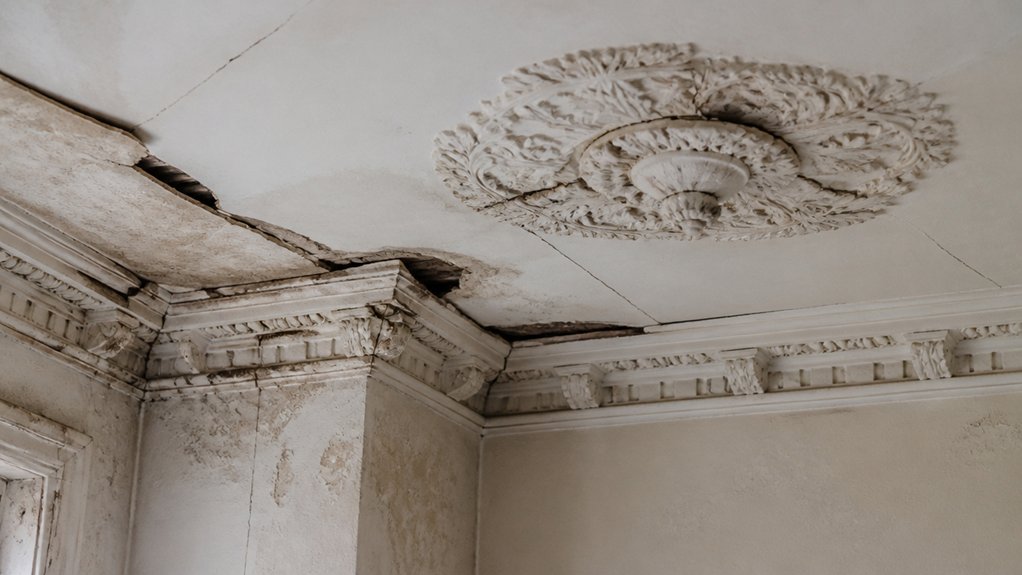
Before you repair any plasterwork, you need to identify exactly what’s gone wrong and why. Start by checking for cracks, bulges, loose sections, staining, and missing detail. Tap gently; a hollow sound often signals detachment from the lath or substrate.
Trace damage back to moisture, movement, impact, or previous repairs that have failed. Photograph everything and note where the problem sits, because patterns matter.
If you’re working in a period property, judge the condition against Historical accuracy so you keep the room’s original character intact. Use preservation techniques that limit disturbance and protect sound material.
You’re not just fixing a surface; you’re caring for a shared heritage that deserves respect. When you assess carefully, you make better decisions, avoid unnecessary loss, and stay part of a community that values authentic restoration.
How Do You Match an Original Cornice Profile?
To match an original cornice profile, you’ll need to measure the existing section carefully, capturing every curve, rebate, and projection.
From that profile, you can create a precise template or matching mould that reproduces the original detail.
This approach guarantees the repair blends seamlessly with the surviving plasterwork.
Measuring Existing Profile
Matching an original cornice profile starts with accurate measurement, because even a small error will show once the replacement is cast or installed. You should clean the edge first, then use a profile gauge, flexible ruler, and calipers to capture the full sweep, step, and return.
Measure in several places, since old plaster often varies along the wall. Record depth, projection, and any damaged sections separately so you can reconstruct the intact shape with confidence.
For historical accuracy, compare the profile against neighbouring rooms and surviving details in your property. When you note dimensions clearly, you make material sourcing easier, because you can brief a supplier or specialist with exact proportions.
That careful approach helps you restore a joined-up interior that feels authentic and respected.
Reproducing Matching Moulds
Once you’ve captured the original profile accurately, you can turn those measurements into a matching mould that reproduces the cornice’s exact shape. You’ll usually create a template from stiff card, zinc, or plywood, then shape fresh plaster against it until the section aligns with the existing run.
Work slowly, checking the curve, arris, and fillet at every pass, because even small errors show once the cornice is installed. If the room has worn edges or losses, trace the surviving sections and mirror them where needed.
This method protects Historical authenticity while restoring Decorative detailing that belongs with the rest of your home. When you match the mould precisely, you join a tradition of skilled repair and make the finish look naturally original.
How Do You Repair Cracks and Loose Sections?
You’ll first identify why the cracks formed, whether it’s movement, moisture, or age, so you can fix the cause before you patch the surface.
Then you’ll stabilize any loose plaster by carefully reattaching it to the substrate with the right adhesive or fixings.
Once the section is secure, you can fill the cracks and blend the repair so it holds and stays discreet.
Identifying Crack Causes
Before you repair cracks or re-fix loose plaster, you need to work out what caused the damage in the first place, because the wrong repair will usually fail again. Check for movement in the building, water ingress, vibration, failed previous repairs, or timber shrinkage above the ceiling.
Hairline cracks often come from normal seasonal movement, while wider splits can signal structural stress or ongoing damp. Look closely at the pattern: straight cracks at joints, radiating cracks around roses, and crumbling edges each point to a different issue.
When you understand the cause, you can choose a compatible repair that protects decorative finishes and supports historical accuracy. That’s how you keep your plasterwork looking right, staying sound, and belonging naturally in the room.
Reattaching Loose Plaster
If the plaster has come away from the lath or substrate, you need to secure it again before filling any cracks, otherwise the repair won’t hold. First, tap gently to map loose areas, then inject a suitable plaster adhesive or lime-based consolidant through small holes.
Use temporary screws, plaster washers, or props to pull the section back into contact without crushing the surface. Once it’s firm, remove dust, rake out cracks, and fill with matching repair plaster in thin layers.
Keep the profile true to the original moulding so your decorative finishes stay seamless. For historical accuracy, choose compatible materials and avoid hard modern fillers that can trap moisture or create stress.
You’re restoring the structure, the detail, and the character that make the room feel complete.
How Do You Restore a Ceiling Rose?
Restoring a ceiling rose starts with a careful assessment of the damage, because the right repair depends on whether the plaster is cracked, loose, missing, or badly distorted.
You then clean away dust and failed paint so you can see the original profile clearly. If sections have shifted, you secure them first, then rebuild missing details with patience, matching the pattern to the surviving work.
For true Historical accuracy, you study the room’s age, ornament style, and scale before you touch the design.
Good Preservation techniques help you protect what remains, not replace it. You’re not just fixing decoration; you’re keeping a shared architectural feature alive, so every edge should read as part of the same story.
Which Plaster Repair Materials Work Best?
For most plaster repairs, you’ll get the best results with materials that match the original work as closely as possible, especially lime-based plaster, casting plaster, and fine finishing filler.
You should choose lime plaster for older walls and ornate details because it moves with the building and respects Historical techniques.
Use casting plaster when you need sharp cornice or rose profiles, then refine it with a fine filler for seamless edges.
Modern materials can help on small, stable repairs, but they shouldn’t replace compatible mixes where authenticity matters.
You’ll fit in with good restorers when you test a small area first, mix carefully, and keep your repair material softer than the surrounding original plaster.
That way, your work blends in naturally and lasts.
How Do You Protect Restored Plasterwork?
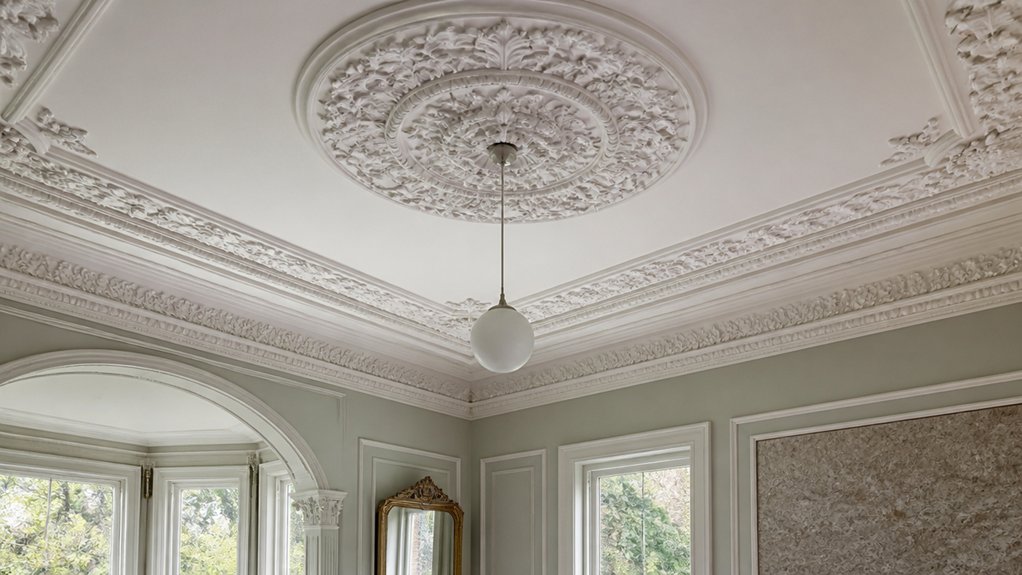
Protect restored plasterwork by controlling moisture, limiting impact, and using the right breathable finishes. You should fix leaks, improve ventilation, and keep humidity steady, because dampness weakens lime and distorts delicate detail.
Avoid harsh cleaning; dust with a soft brush and never scrub raised ornament. When you decorate, choose painting techniques that suit the original fabric, such as thin mineral or limewash coats that let the plaster breathe.
Protect edges and cornices from knocks by moving furniture carefully and fitting discreet guards where needed. If you’re matching colour or sheen, prioritise historical accuracy so the room feels coherent and well cared for.
With routine inspection and gentle maintenance, you’ll keep the craftsmanship intact and preserve the shared heritage of your home.
About the Author


