You probably don’t know that many household annoyances start with just one worn washer, loose screw, or tiny gap. If you catch them early, you can often fix the problem yourself in minutes and avoid bigger repairs later. From leaky faucets and squeaky doors to drafts, clogs, and wall scuffs, the right simple fix can save time, money, and frustration. Here’s what to check first.
Key Takeaways
- Fix leaky faucets by shutting off water, replacing worn washers or cartridges, and tightening connections.
- Clear clogged drains with boiling water, a plunger, or a drain snake; avoid harsh chemicals.
- Repair running toilets by checking the flapper, chain, fill valve, and handle inside the tank.
- Seal drafts around windows and doors with caulk, weatherstripping, or door sweeps.
- Prevent household problems by inspecting regularly, storing items neatly, and fixing small issues early.
Quick Fixes for Leaky Faucets
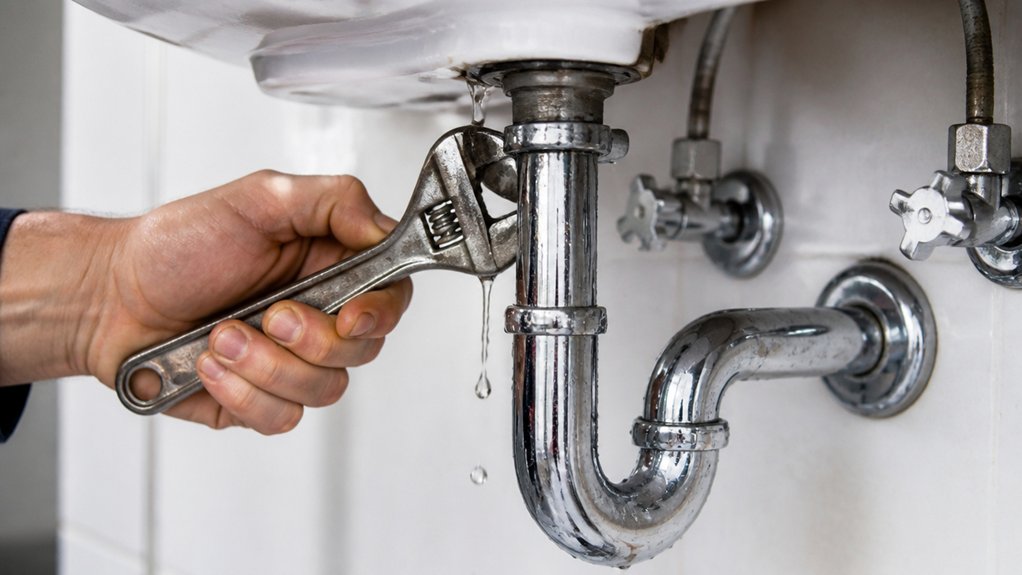
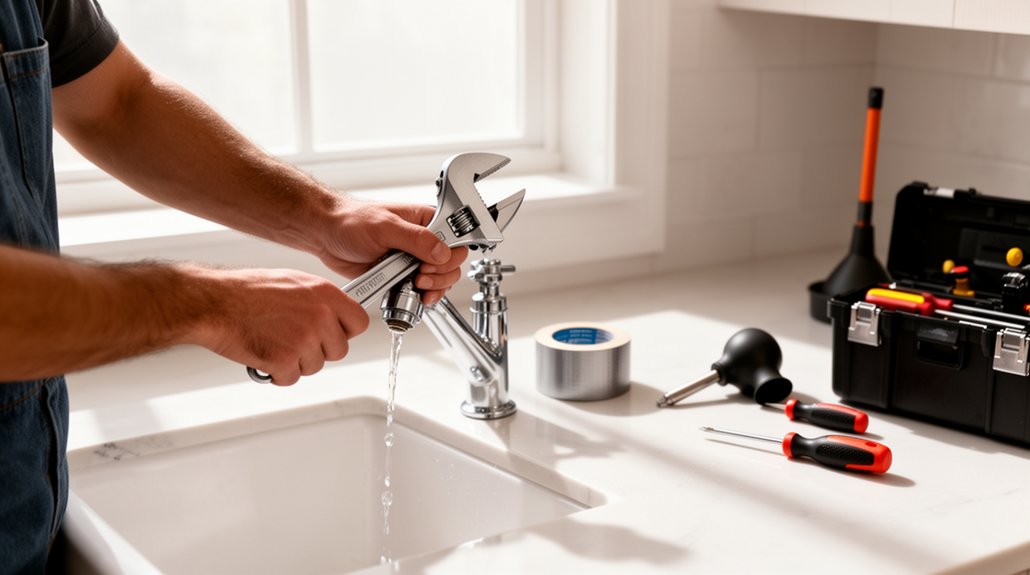
A dripping faucet can waste water and drive up your bill, but you can often fix it quickly with a few basic tools. First, shut off the water under the sink and plug the drain so small parts don’t vanish. Remove the handle, then inspect the washer, O-ring, and cartridge for wear.
Replace damaged parts with matching pieces from the hardware store. Tighten loose connections, but don’t overtighten them. Clean mineral buildup from the valve seat before reassembling.
If the leak started after recent faucet installation, check that every joint is seated correctly. Regular plumbing maintenance helps you catch these issues early, save money, and keep your home working for everyone in it.
Turn the water back on and test for drips, then you’re done.
Silence Squeaky Doors Fast
Start by opening the door slowly to pinpoint the exact squeak.
Then lubricate the hinges with a few drops of oil and work the door back and forth.
If it still sounds off, tighten any loose screws or hardware.
Locate The Squeak
Before you reach for oil or a wrench, pin down exactly where the squeak comes from by slowly opening and closing the door while listening closely at the hinges, latch, and frame. This simple squeak detection step keeps you from fixing the wrong spot and wasting time.
For accurate noise identification, press lightly on the door edge, then repeat the motion with the handle lifted and released. If the sound changes, you’ve narrowed the source.
Check whether the squeak happens only when the door swings one way or at a specific point in travel. You’re not guessing anymore; you’re tracking the problem like a pro.
Once you know the exact spot, you’ll handle the next step with confidence and join the many homeowners who solve small issues fast.
Lubricate The Hinges
Now that you’ve found the noise, apply a few drops of lubricant to the hinge pins and moving joints to quiet the door fast. Use a light oil, silicone spray, or a purpose-made product for hinge lubrication.
Move the door back and forth so it reaches the parts that rub. If the squeak fades, wipe away any excess to keep the area clean and prevent drips.
You don’t need special tools or a long repair session—just a steady hand and a few minutes. These simple squeaky door solutions work best when you treat the hinge directly and listen for the change.
When your door swings smoothly, your home feels calmer, and you’re back in the comfort of a quieter space.
Tighten Loose Hardware
If the squeak sticks around after lubrication, check the hinge screws, handle, and nearby hardware for looseness. You can silence the door by snugging each fastener with the right screwdriver or hex key. Start with the top hinge, then move down, testing the door after each turn.
Use steady tightening techniques, not brute force, so you don’t strip the screw heads or crack the frame. If a screw spins, pull it out, add a toothpick and wood glue, then reinstall it.
Keep an eye on latch plates and strike plates too, because loose parts can rattle and drag. Routine hardware maintenance helps your doors stay quiet, solid, and welcome in a well-kept home.
Clear Clogged Drains Without Stress
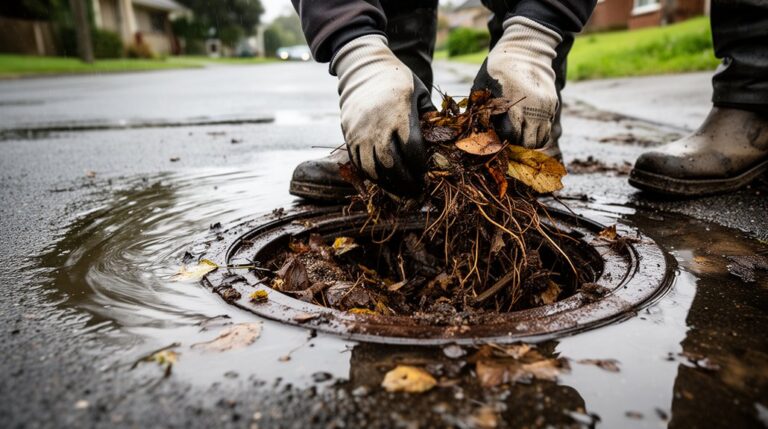
A clogged drain can turn a simple chore into a mess, but you can often fix it quickly with the right approach. First, remove visible debris from the stopper or strainer.
Then pour boiling water down the drain to loosen buildup. If that doesn’t work, use a plunger and seal the opening well for strong suction.
For stubborn blockages, try a drain snake to pull out hair and grime. Skip harsh chemicals; they can damage pipes and complicate pipe maintenance.
Regular drain cleaning helps keep water moving and reduces future clogs. You’re not alone in this—most homeowners face the same issue.
With a few steady steps, you can restore flow, protect your plumbing, and handle minor problems with confidence.
Fix Running Toilets and Loose Handles
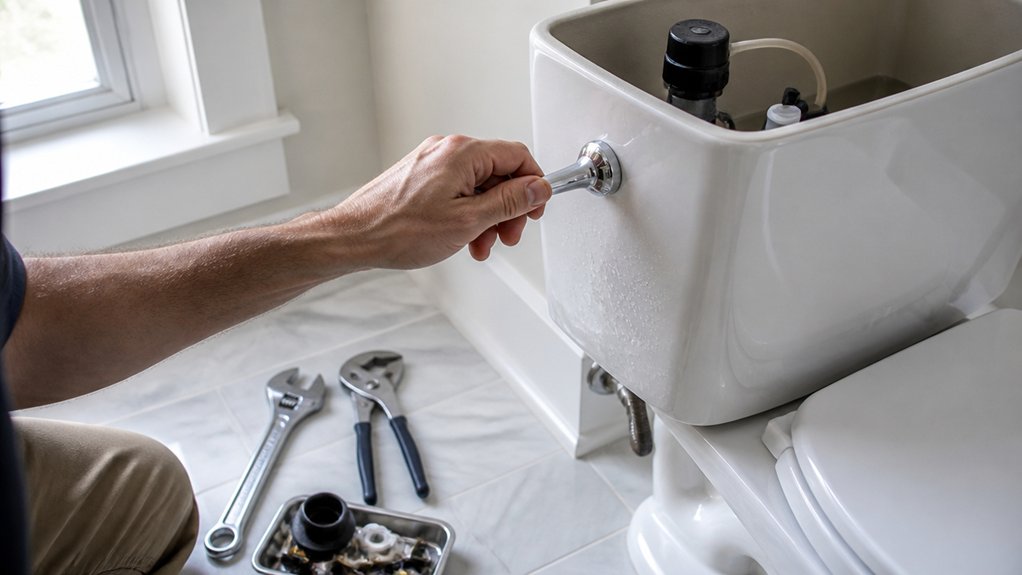
When your toilet keeps running or the handle feels loose, you can usually fix both problems with a few simple checks. First, lift the tank lid and inspect the flapper, chain, and fill valve.
If the flapper isn’t sealing, clean it or replace it to stop wasted water. For basic toilet tank repair, make sure the chain has a little slack so it doesn’t hold the flapper open.
Tighten the handle nut from inside the tank, but don’t overtighten and crack the porcelain.
If the handle is worn, use handle replacement tips: match the style, remove the old arm, and install the new one firmly.
Test the flush several times so your bathroom feels dependable again.
Stop Drafts Around Windows and Doors
You can stop drafts by sealing gaps around your windows with caulk or foam. Add door sweeps to block air leaks under exterior doors.
Install weatherstripping where frames don’t close tightly. These fixes cut heat loss fast and make your home feel more comfortable.
Seal Window Gaps
Drafts sneaking around your windows and doors usually mean gaps that need sealing. Start with window insulation tape or removable caulk to close the leaks along the frame, sash, and trim. Clean the surface first so the sealant sticks well and lasts through the season.
Press weatherstripping into any narrow spaces where air slips through, and check corners carefully. This simple draft prevention step helps you keep heat in, noise out, and comfort steady room to room. You’ll feel the difference fast, and you won’t need a full renovation to get there.
Inspect each window on a chilly day, then fix the spots that feel cold to the touch. Small repairs like these help your home work better for everyone inside.
Add Door Sweeps
Got a cold strip under the door? You can stop that fast with a door sweep. Measure the gap, choose a sweep that matches your floor type, and trim it if needed.
During door sweep installation, keep the seal just touching the surface so the door still opens freely. Tighten the screws, test the swing, and check for scraping.
This small fix blocks chilly air, dust, and noise, helping your home feel calmer and more comfortable. For smart draft prevention tips, inspect entry doors first, since they usually leak the most.
If you live with kids, pets, or roommates, this upgrade helps everyone enjoy a warmer, cozier space without major work. It’s a simple win you can handle in minutes.
Use Weatherstripping
After sealing the gap under the door, check the rest of the frame for thin spots where air slips through. You can stop drafts fast with weatherstripping on windows and doors.
Choose weatherstripping materials like foam tape, V-strip, felt, or rubber, then clean the surface so the adhesive sticks well. Measure twice, cut once, and press each strip firmly into place.
For sliding windows, focus on the meeting rails; for hinged doors, seal the jambs and threshold.
The weatherstripping benefits show up quickly: less cold air, lower energy waste, and a quieter room. You’ll feel more comfortable with your home team keeping heat inside where it belongs.
Replace worn strips each season so your fix stays reliable.
Remove Common Household Stains
When you tackle common household stains quickly, you can usually lift them before they set and become harder to remove. Start with stain removal by blotting, not rubbing, so you don’t spread the mess. Mix a small amount of mild dish soap with cool water, then test it on a hidden spot.
For coffee, sauce, or juice, work from the outside in and rinse with a clean cloth. For grease, sprinkle baking soda first to absorb residue. These cleaning tips help you handle the most common marks with confidence and keep your home looking cared for.
If a stain lingers, repeat the process patiently. You’re not alone in this—simple habits can make cleanup feel easier, faster, and part of your regular routine.
Repair Minor Wall Dents and Scuffs

Minor wall dents and scuffs usually come off with a little spackle, a putty knife, and careful sanding. You can join the group of capable DIYers by cleaning the area first, then pressing spackle into the dent until it sits slightly proud of the wall. Smooth it with the knife, let it dry, and sand lightly with fine-grit paper. Wipe away dust before you touch up the spot with matching paint.
For deeper marks, repeat the fill-and-sand process once more for better wall repair. If the finish still shows, prime the patch so the color blends cleanly. This simple surface restoration keeps your rooms looking cared for without a full repaint, and you’ll feel confident fixing the small flaws that show up in everyday life.
Refresh Scratched Floors and Furniture
Small scratches on floors and furniture often need only a quick touch-up to look better. You can start by cleaning the surface, then test a matching wax stick, stain marker, or polish on a hidden spot.
For wood floors, light floor polishing can soften scuffs and bring back a more even shine. On tables, chairs, and cabinets, furniture refinishing with a touch-up pen or fine wax helps blend marks without a full overhaul.
Work in the direction of the grain, wipe away excess, and let each product dry fully. If the scratch catches a fingernail, repeat the repair once more.
With a steady hand and the right match, your home keeps its polished, cared-for feel.
Use Simple Storage to Reduce Clutter
A few simple storage habits can quickly cut clutter and make daily cleanup easier. You can give every item a home with clear bins, baskets, and labeled drawers, so you’re not hunting for what you need.
Keep frequently used things within reach and group similar items together for faster clutter organization.
Use storage solutions that fit your space, like under-bed boxes, over-door racks, and stackable shelves, to make the most of tight areas.
When you sort mail, shoes, toys, and tools right away, you protect shared spaces from piling up.
You’ll feel more at ease in a room that looks orderly and works for your routine, and your household will seem more welcoming.
Prevent Common Household Problems From Returning
To keep household problems from coming back, address the cause, not just the symptom, and build a routine that prevents repeat issues. You can protect your home with preventative maintenance that fits your schedule. Tighten loose hardware, clean drains, replace worn seals, and test alarms before small faults grow.
Make routine inspections part of your week: check for leaks, cracks, odors, and weak spots in high-use areas. When you catch trouble early, you save time, money, and stress.
Keep a simple log so you know what you fixed and when. That habit helps you stay ahead and keeps your home running smoothly.
Your space feels safer, calmer, and more cared for when you and your household work together.
About the Author