You can tighten, patch, and replace before small problems become bigger ones. You don’t need a full toolbox or advanced skills for many common home fixes; you just need to know which jobs are safe, what basic tools to grab, and when to stop. A squeaky door, a loose knob, or a small drywall hole can all be handled fast, but one repair demands a bit more care than the rest.
Key Takeaways
- Tighten loose cabinet handles, knobs, and hinge screws for quick, noticeable fixes.
- Lubricate squeaky door hinges and replace stripped screws if needed.
- Patch small drywall holes with spackle, then sand, prime, and paint.
- Replace faucet washers or O-rings to stop minor drips and leaks.
- Seal window and door drafts with weatherstripping or caulk to improve comfort.
Know Which DIY Fixes Are Safe to Tackle

Before you grab a toolbox, know which fixes you can safely handle yourself. You can usually tackle small jobs like tightening loose screws, patching nail holes, replacing weatherstripping, or changing a faucet washer when the problem is simple and local.
Trust your limits: if you see gas, live wiring, major leaks, structural damage, or anything that feels unstable, stop and call a pro.
DIY safety starts with honest judgment, clear instructions, and a clean workspace. Wear eye protection when needed, keep children and pets away, and shut off power or water before you begin.
Good tool maintenance matters too; a cared-for hammer, pliers, or screwdriver works better and helps you stay in control.
Learn one repair at a time, and you’ll feel confident fast.
Gather the Basic Tools You’ll Need
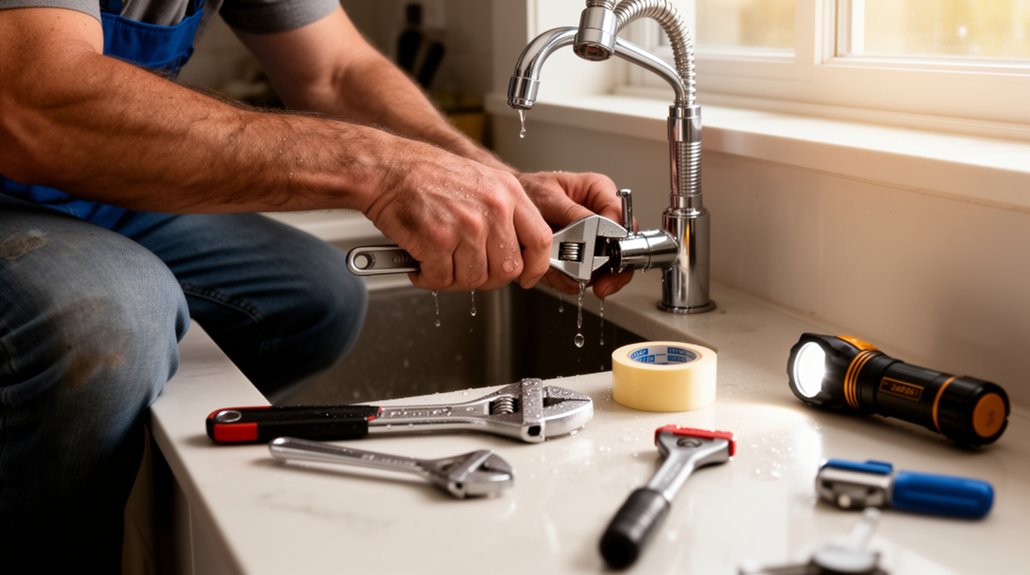
Once you know a repair is safe, set yourself up with a basic toolkit so you’re not scrambling mid-job. Keep a few Basic tools close: a screwdriver set, adjustable wrench, pliers, utility knife, tape measure, flashlight, and a small hammer.
Add spare batteries, screws, wall anchors, and electrical tape if your home needs them. You don’t need a full workshop; you need the right essentials within reach.
Store everything in one sturdy bag or box so you can move fast and stay organized.
Before you start, check your tools for wear and make safety precautions part of the routine: wear gloves when needed, use eye protection for dusty tasks, and unplug anything powered before you touch it.
With a simple kit, you’ll feel prepared and capable.
Fix a Squeaky Door
First, you’ll need to find exactly where the squeak is coming from, usually at the hinges or loose hardware.
Then apply a small amount of lubricant to the hinges and work the door back and forth so it can spread evenly.
If the noise still sticks around, tighten any loose screws to steady the door and stop the squeak.
Identify Squeak Source
Open and close the door slowly to pinpoint where the squeak comes from, because the noise usually starts at a hinge, latch, or where the door rubs against the frame. Listen closely and note the squeak frequency; a high, repeated sound often means one spot is moving against another.
For clean source detection, stand beside the door and move it through a full range, then stop at the exact moment the noise appears. Check both sides so you can tell whether the problem lives on the hinge side or the strike side.
If the squeak changes when you lift, push, or pull the door, you’ve found the trouble area. Once you know the source, you can move ahead with confidence and join the many homeowners who handle small fixes themselves.
Lubricate Door Hinges
If the squeak points to a hinge, apply a light lubricant directly to the hinge pin and knuckle, then swing the door a few times to work it in. You’ll usually hear immediate squeak reduction as the metal parts glide more smoothly.
For clean door hinge lubrication, use a targeted spray or a few drops of oil, not a heavy coating. Wipe away any excess so it won’t attract dust or drip onto the floor.
If the sound lingers, add one more small application and move the door again. You can handle this repair in minutes, and it’s a simple win that makes your home feel cared for.
With the right touch, your door should open quietly and stay that way.
Tighten Loose Screws
Check the hinge screws next, because even a slightly loose one can make a door squeak or shift out of alignment. Grab the right driver and snug each screw until it seats firmly. Don’t overtighten; stripped wood makes the problem worse.
If a screw spins, swap it for a longer one or use a wood filler repair, then drive it back in. Match screw types to the hinge and frame so the head fits cleanly.
If you’re working on a heavy door, follow the hinge maker’s torque specifications when they’re available, but stop as soon as the screw feels secure.
Test the door, listen for noise, and make one more small adjustment if needed. You’ve got this, and your door will feel solid again.
Tighten Cabinet Handles and Knobs

When cabinet handles or knobs start to wiggle, you can usually fix them in minutes with a screwdriver. Open the door or drawer and check the screw from the inside; hold the handle steady while you tighten it so the cabinet hardware seats cleanly.
If the screw keeps spinning, remove it, inspect the hole, and replace a stripped fastener with a slightly longer one. You don’t need a handle replacement unless the piece is cracked, bent, or missing parts.
Work methodically through each pull and knob in your kitchen or bath, and you’ll restore a tidy, secure feel fast. This small job helps your space look cared for, and you’ll feel right at home handling it yourself.
Patch Small Holes in Drywall
Small nail holes and minor dents in drywall are easy to patch with a little spackle, a putty knife, and fine-grit sandpaper. First, clean the area and press in a thin layer of filler. Feather the edges with your knife so the repair blends in. Let it dry, then sand lightly until smooth.
For slightly larger spots, use mesh tape or a patch kit and follow basic Patch techniques for a stronger finish. Wipe away dust, then prime and paint to match the wall.
This simple Drywall repair keeps your space looking cared for and helps you feel right at home. With a little patience, you can handle these fixes confidently and keep small flaws from standing out.
Stop a Dripping Faucet
A dripping faucet wastes water and can turn a quiet room into an annoying distraction, but you can usually fix it yourself with a few basic tools. First, shut off the water under the sink and open the tap to release pressure.
Then remove the handle and inspect the washer, O-ring, or cartridge for wear. Replace the damaged part with an exact match, and tighten each component securely without forcing it.
If the leak continues, mineral buildup or a cracked valve seat may be the issue, and faucet replacement might be smarter than repeated repairs.
Regular plumbing maintenance helps you catch small problems early, save money, and keep your home running smoothly. You’ve got this.
Unclog a Slow Drain

A slow drain usually shows up as standing water, gurgling sounds, or a bad smell.
You can often clear it with a plunger, a drain snake, or a simple mix of baking soda and vinegar.
To keep clogs from coming back, use drain screens and avoid rinsing grease, hair, and food scraps down the line.
Signs Of A Slow Drain
Is your sink draining slower than usual? That’s often the first sign you need to pay attention.
Water that lingers in the basin, gurgles after you shut the tap, or leaves a thin ring of residue tells you the drain’s struggling. You might also notice a faint odor, which can mean buildup is starting to collect.
These early warnings matter because small issues can become bigger ones fast. Good drain maintenance helps you catch trouble before it disrupts your routine.
Keep an eye on how quickly water clears after each use, and trust your instincts when something feels off. Solid plumbing tips start with noticing changes early.
When your drain slows down, you’re not alone—this is a common home issue, and spotting it now puts you in control.
Simple Clearing Methods
When your drain starts moving slowly, you can often fix it with a few simple steps before reaching for harsher solutions.
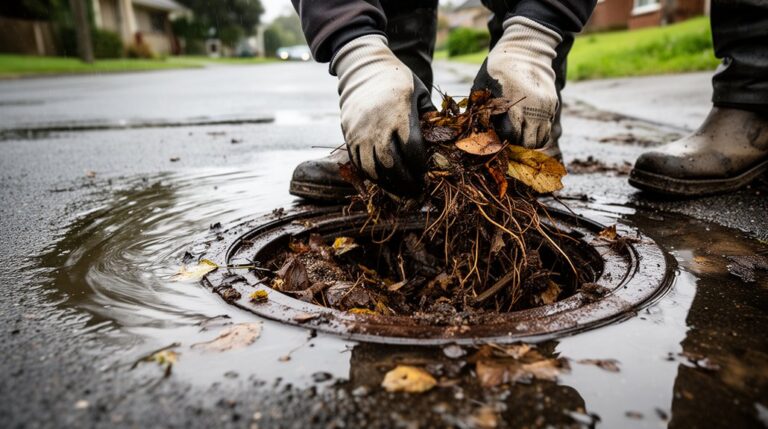
First, remove the stopper or strainer and clear visible debris by hand or with a bent wire.
Next, run hot water to loosen soft buildup.
If water still lingers, use a plunger with a tight seal and steady pressure.
For sinks with a trap, place a bucket underneath, then loosen the trap and clean it out.
Keep DIY safety in mind: wear gloves, protect your eyes, and avoid mixing cleaners.
After each use, rinse and dry your tools for better tool maintenance.
These quick methods help you handle the clog yourself and keep the job clean, controlled, and manageable.
Prevent Future Clogs
To keep a slow drain from clogging again, build a few small habits into your routine. Catch hair, food, and debris before they slip down the drain, and wipe greasy pans with a paper towel first.
Flush the drain with hot water after heavy use, but avoid harsh chemicals that can damage pipes and make future repairs harder.
If you use a stopper or drain guard, clean it weekly so buildup doesn’t return.
Practice DIY safety by wearing gloves and keeping the area dry, especially when you work under a sink.
Good tool maintenance matters too: rinse plungers, snakes, and brushes after each use, then store them clean and dry.
These simple steps help your whole household keep drains moving smoothly.
Repair a Running Toilet
A running toilet usually wastes water because a worn flapper, a loose chain, or a faulty fill valve isn’t sealing properly. Lift the tank lid, flush, and watch the parts work.
If the chain hangs slack or snags, adjust it so the flapper closes fully. If the flapper looks warped, replace it with the same size. Clean mineral buildup from the seat and valve openings, then test again.
If water keeps flowing into the overflow tube, lower the float or replace the fill valve.
You can handle this quickly, like basic appliance troubleshooting, and keep your home calm, efficient, and neighbor-ready.
While you’re at it, check for leaks around the base, since hidden drips invite garden pests and waste money.
Replace a Faulty Light Switch
If a light switch feels loose, crackles, or only works part of the time, shut off the breaker and confirm the power is dead before you touch it. Remove the cover plate, unscrew the switch, and pull it out gently.
Take a photo of the wire positions, then move each wire to the same terminal on the new switch. Tighten the screws firmly, tuck the wires back, and remount the device.
Restore power and test it. If the light works cleanly, you’ve handled a solid fix with confidence.
This small repair supports Electrical safety and can improve everyday comfort. It also pairs well with Lighting upgrades when you want your home to feel brighter, safer, and more in tune with your routine.
Seal Drafts Around Windows and Doors
Start by checking around windows and doors for draft sources, especially where you feel cold air or see light coming through.
Add weatherstripping to moving parts like sashes and door edges to create a tighter seal.
Finish by caulking gaps in stationary trim and frames so you block air leaks and improve efficiency.
Identify Draft Sources
Want to stop cold air from sneaking in? First, walk your rooms slowly and feel for moving air around window frames, door edges, outlets, and baseboards.
On a breezy day, hold a lit incense stick or tissue near each spot; if it wavers, you’ve found a draft source. Check where indoor plants sit, too, since their leaves can reveal hidden airflow, and use home organization habits to keep furniture from blocking your inspection.
Listen for whistling near hinges and locks, and look for daylight peeking through gaps. Mark each problem area with painter’s tape so you can fix it methodically.
This quick check helps you target the right spots, save energy, and make your home feel calmer, cozier, and more connected.
Apply Weatherstripping
Once you’ve found the drafty spots, add weatherstripping to seal the gaps around windows and doors. Clean the surface first so the tape or foam sticks well, then measure each opening before you cut.
Choose the right material for the job: adhesive foam for lightweight sealing, V-strip for moving parts, or door sweeps for the bottom edge.
During weatherstripping installation, press each piece firmly into place and test the fit by closing the window or door. You want a snug seal, not a strain.
This simple fix helps you take control of draft prevention, lowers wasted energy, and makes your home feel more comfortable.
When you finish, check that every edge sits flat so your space stays protected and welcoming.
Caulk Gaps Properly
After weatherstripping, caulk any remaining gaps around window and door trim to block stubborn drafts. You’ll feel the room stay steadier, and your home crew will appreciate the cleaner look.
Choose paintable exterior caulk for most trim joints, then cut the tube tip small for control. Hold the gun at a steady angle, and keep pressure even during caulk application so the bead stays smooth.
Move slowly, fill the joint fully, and don’t leave breaks that invite air leaks. Smooth the line with a damp finger or tool for better adhesion and a neater finish.
Good gap sealing helps reduce energy loss, keeps dust out, and supports a tighter, more comfortable home. Let it cure fully before painting or washing the area.
About the Author