
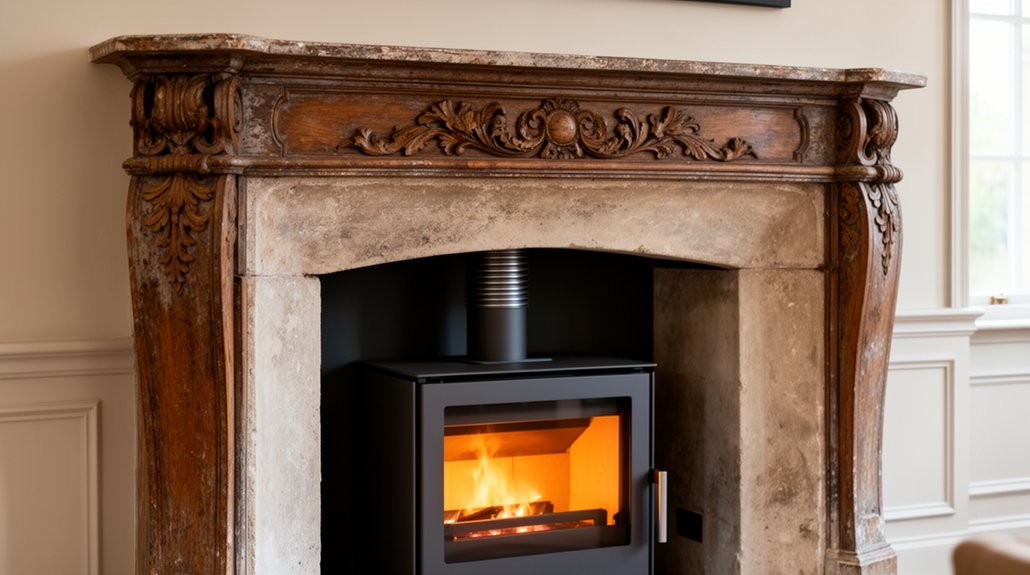
When you retrofit a high-efficiency stove into a historic mantel, you have to balance code, clearance, and character from the start. You’ll want a stove that fits the opening, respects the mantel’s proportions, and vents cleanly without cutting away original details. Heat shields, discreet trim, and period-appropriate finishes can make the installation feel native to the room, but the real challenge is deciding which elements stay visible and which disappear.
Key Takeaways
- Measure the mantel opening, setbacks, and chimney path first to confirm stove fit and preserve historic proportions.
- Choose a high-efficiency stove sized for the room, with certified safety features and a fuel type that suits daily use.
- Verify clearances, add heat shielding if needed, and keep combustible mantel materials safely away from flue and radiant heat.
- Match trim, tile, finishes, and hardware to the home’s period so the stove looks integrated, not added on.
- Secure permits, document plans and specs, and complete inspections carefully to ensure code compliance and preservation.
How Historic Mantel Stove Retrofits Work
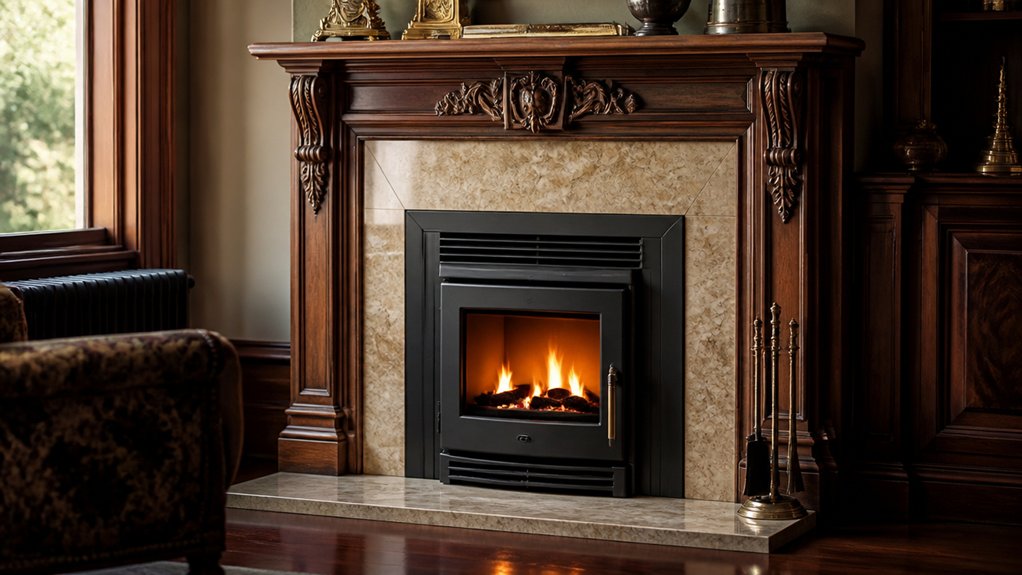
Historic mantel stove retrofits work by pairing the visual presence of an antique mantel with a modern, high-efficiency stove core that fits safely and discreetly inside or behind it. You preserve the room’s character while updating heat delivery, draft control, and safety clearances.
Start by evaluating the mantel’s structure, finish, and chimney path so you can protect historical accuracy without forcing the piece to carry loads it wasn’t built for. Then confirm material compatibility between surrounding wood, masonry, and any heat shields or liners.
You’ll often add insulation, spacing, and fireproof barriers to manage temperatures and protect original surfaces. When you plan carefully, your retrofit feels native to the house, not imported, and you join a tradition of keeping old spaces useful, welcoming, and well-loved.
Choose the Right High-Efficiency Stove
Once you’ve confirmed the mantel can safely host a retrofit, the next step is choosing a stove that matches both the space and the way you want to heat it.
Start by comparing Fuel options: gas gives you quick control, pellets offer steady output, and wood creates a traditional feel with more hands-on tending.
Look for a high-efficiency model sized for the room, not just the opening, so it delivers useful heat without wasting energy.
Prioritize Safety considerations such as sealed combustion, reliable controls, and certified performance from trusted manufacturers.
You want a stove that respects the mantel’s character while fitting into your everyday routine.
When the match is right, your retrofit feels intentional, comfortable, and part of a community that values old craftsmanship and modern efficiency.
Check Clearances Around the Mantel
Before you fit the stove, measure the mantel setbacks from the wall and compare them to the manufacturer’s minimum installation requirements.
You’ll need to verify heat clearance in every direction, including side trim, shelf depth, and any projecting woodwork that could trap heat.
If the numbers don’t match, adjust the layout or add approved shielding before you install the unit.
Measure Mantel Setbacks
Start by measuring the mantel’s setbacks—the horizontal and vertical clearances between the stove opening, the mantel shelf, the jambs, and any trim or molding. Record each dimension separately, because historic surrounds rarely stay square.
You’ll protect both mantel ornamentation and Historical accuracy when you note the deepest projection, the narrowest side return, and the exact shelf overhang. Use a steel tape, a level, and a pencil sketch so you can compare left and right, top and bottom.
If the opening shifts, document the offset instead of guessing. Measure from finished surfaces, not rough framing, so your retrofit plan fits the actual assembly.
Keep your notes with photos and dimensions; that’s how you stay aligned with the house’s character and make smart choices with your crew.
Verify Heat Clearance
Now that you’ve documented the mantel’s dimensions, verify the heat clearance around the opening so the stove can operate safely without damaging trim, plaster, or surrounding woodwork. Measure from the stove body, flue, and any radiant surfaces to the nearest combustible materials, then compare each gap with the manufacturer’s clearance standards and local code requirements.
If the mantel shelf projects deeply, you may need a heat shield, reduced-clearance connector, or slight stove repositioning. Check side walls, the header, and the floor area in front of the hearth, because heat can travel farther than you expect.
This step protects fire safety and helps you keep the mantel’s historic character intact. When you work carefully here, you’re joining others who value craftsmanship, safety, and preservation.
Match Stove Size to Mantel Proportions
Match the stove to the mantel opening so it fits cleanly without crowding the surround or looking undersized. You’ll want the stove’s height, width, and depth to echo the mantel’s proportions, not fight them.
Balance the visual weight of nearby trim, hearth, and wall space so the whole assembly feels intentional and steady.
Scale To Mantel Opening
Before you buy a stove, measure the mantel opening carefully and treat its width, height, and depth as hard limits, not rough guidelines. You want the appliance to sit inside the frame without crowding trim, stone, or brick. Leave enough clearance for heat, service access, and venting hardware. Then compare those numbers against the manufacturer’s cut sheet.
A stove that’s even slightly oversize can force awkward adjustments and undermine historical accuracy. Check how the stove’s face aligns with the opening so the mantel ornamentation still reads clearly and the hearth feels intentional.
If the cavity is unusually shallow, choose a compact model with a narrow profile instead of compromising fit. When the proportions are right, you preserve the room’s character and join a restoration that feels authentic.
Balance Surrounding Visual Weight
Even when a stove fits the mantel opening, it can still look wrong if its visual weight overwhelms the surround or feels too small against the architecture. You need to read the room like a designer: compare the stove’s body height, door size, and leg profile with the mantel’s columns, shelf depth, and trim thickness.
A chunky cast-iron model can dominate a delicate Victorian surround, while a slender unit may disappear inside a robust masonry frame. Choose proportions that echo the mantel’s era so the ensemble feels intentional.
Use decorative accents sparingly to bridge old and new, and protect historical accuracy by avoiding oversized trim, bright finishes, or fussy add-ons that break the visual balance. When you match mass and detail, your stove belongs.
Plan Venting Without Damaging Details
To protect the mantel’s original character, you’ll want to map the vent path first and let the historic details dictate the route, not the other way around. Work with the existing chimney whenever you can, because that keeps the exterior calm and supports venting aesthetics that belong in older homes.
If the flue needs repair or resizing, coordinate that work with a pro who understands chimney maintenance and preservation standards. You should measure offsets, clearances, and termination points before you cut or drill, then choose the least visible path through masonry joints or hidden chase space.
That way, you preserve moldings, tile, and trim while giving the stove a clean, efficient exhaust route. With careful planning, you’ll fit right into a community that values both performance and heritage.
Protect Woodwork With Heat Shields
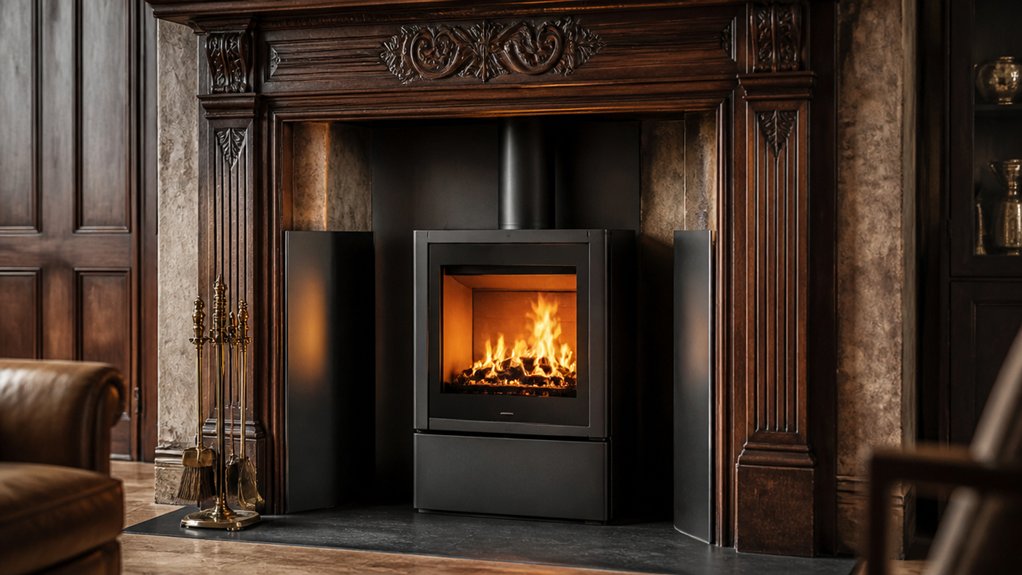
Once the vent path is set, protect the mantel’s woodwork by managing heat at the source and around the opening. You can add a noncombustible heat shield behind and above the stove to redirect radiant warmth before it reaches trim. Keep an air gap so the shield can breathe; that space improves wood preservation and lowers surface temperature.
Use standoffs, edge trim, and mineral board where needed, and seal exposed wood with heat-resistant finishes rated for nearby heat. Check clearances at every corner, especially near carvings and shelf returns, because hot spots hide there.
Match the shield’s profile to the mantel so it feels intentional, not added later. With careful detailing, you protect history while making the room comfortable and yours.
Get Permits and Pass Inspection
Before you light the stove, check what your local building department requires and file for every permit the project needs. You’ll usually need approvals for fuel line work, venting, clearances, and any structural changes to the mantel opening.
Keep your permit card, plans, and product specs together so the permitting process moves smoothly and you can answer questions fast.
Schedule inspections early, then be on-site when the inspector arrives. Walk them through the stove model, the listed clearances, and the installed heat protection.
Meet all inspection requirements exactly; don’t guess, improvise, or hide anything behind trim. If something fails, fix it, document it, and request a recheck.
When you follow the rules, you protect your home and join the circle of owners who do this right.
Add Authentic Finishing Details
With the stove approved and inspected, you can shift your attention to the details that make the retrofit look like it belongs in the mantel from day one. Match trim profiles, tile, and surround materials to the home’s period, then echo the original finish with restrained paint or stain.
Add ornamental accents only where they support the design, not where they compete with it. If the mantel once held cast iron or brass elements, echo those metals in subtle hardware, grilles, or ember guards.
Keep clearances intact while hiding modern seams with careful caulking and color matching. For historical accuracy, study photos, pattern books, or surviving rooms in your neighborhood.
Those references help you choose details that feel authentic, so your upgraded stove reads as a natural part of the house.
About the Author


