
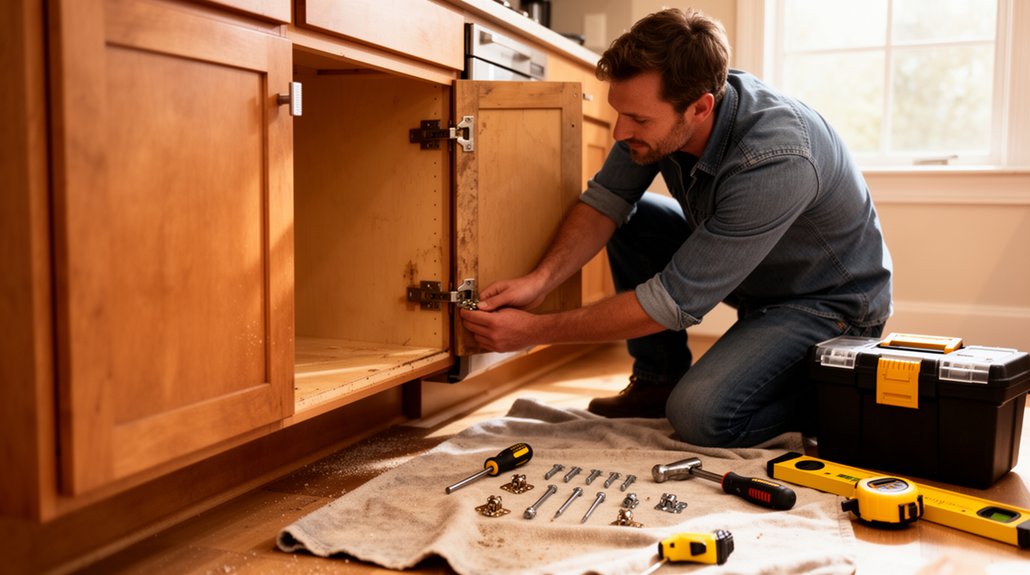
If you own a home, you need to know how to handle a few basic repairs before they turn into bigger problems. You can stop a drip, clear a clog, patch a wall, or tighten loose hardware with the right tools and a little know-how. Those simple fixes save money, protect your home, and keep small issues from getting worse. The real question is which repairs matter most first.
Key Takeaways
- Fix leaky faucets by shutting off water, replacing worn washers or O-rings, and testing for drips.
- Clear clogged drains with a plunger, drain snake, and hot water; avoid harsh chemical cleaners.
- Patch drywall, repair trim, and fix nail pops with proper prep, compound, caulk, and matching paint.
- Tighten loose doors, cabinets, hinges, and hardware, and repair stripped screw holes for a secure fit.
- Reinforce subfloors or joists with screws and adhesive, and always turn off power or water before repairs.
Basic DIY Home Repairs Every Homeowner Should Know
A handful of basic DIY home repairs can save you time, money, and unnecessary stress. You’ll feel more confident when you handle loose hinges, patch small wall holes, tighten cabinet hardware, and replace worn weatherstripping. These tasks protect home safety and keep your space functioning smoothly.
You can also swap a broken light switch cover, reattach baseboards, and touch up scuffed trim to preserve the look of your rooms. When you keep a few simple tools ready, you join the many homeowners who solve small problems before they grow.
Smart upkeep supports interior decorating, too, because clean lines and finished surfaces make every room feel cared for. Start small, stay consistent, and you’ll build useful skills fast.
Fix a Leaky Faucet
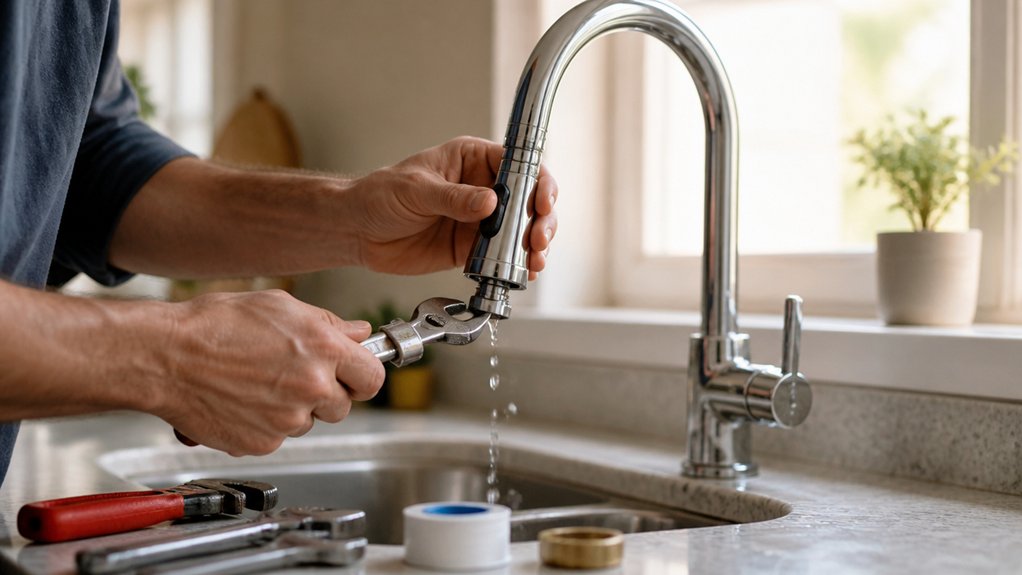
A leaky faucet usually comes from a worn washer, damaged O-ring, or loose valve parts. You can spot the cause by checking where the drip starts.
Turn off the water, disassemble the faucet, and inspect each part for wear or buildup.
Replace the faulty piece, reassemble the faucet, and test it to make sure the leak’s gone.
Common Leak Causes
If your faucet keeps dripping, the problem usually comes down to a worn washer, a damaged O-ring, a corroded valve seat, or a loose part inside the handle.
You’ll often notice the leak gets worse after use, because pressure exposes weak seals and worn threads. Hard water can leave mineral buildup that keeps the valve from closing cleanly.
In some homes, indoor humidity can speed corrosion around older fixtures, while water heater issues may create extra sediment that reaches the tap.
Check for moisture under the sink, around the spout, and at the base of the handle.
If the drip changes with hot or cold water, that clue can help you narrow the cause.
Knowing these common leak sources helps you feel confident tackling the repair.
Step-by-Step Repair
Start by shutting off the water supply under the sink and opening the faucet to relieve pressure. Cover the drain so small parts don’t vanish. Remove the handle, then take out the cartridge or stem.
Inspect washers, O-rings, and seals; replace worn pieces with exact matches. Clean mineral buildup with vinegar, then reassemble tightly, but don’t overtighten.
Turn the water back on and test for drips. If the faucet still leaks, the valve seat may need replacement.
This quick fix keeps your home automation sensors dry and protects nearby cabinets. You’ll save money, build confidence, and join the growing group of homeowners who handle repairs themselves.
For more upkeep, pair this fix with gardening tips to manage outdoor spigots too.
Unclog a Drain
When you unclog a drain, you’ll usually find hair, soap scum, grease, or food scraps blocking the flow.
You can start with a plunger, a drain snake, or hot water and baking soda, depending on the clog.
Always avoid harsh chemicals if you can, since safer methods often protect your pipes better.
Common Drain Blockages
A clogged drain usually starts with the usual suspects: hair, grease, soap scum, food scraps, or small objects that slipped down the pipe. In your home, these buildup points often narrow the opening little by little, so water slows before it stops.
In kitchens, grease hardens and traps crumbs. In bathrooms, hair tangles with soap residue and forms stubborn mats.
If every sink in the house drains poorly, the issue may be deeper in the line and tied to sewer system maintenance. Low flow can also reflect poor water pressure regulation at fixtures, which makes rinsing less effective.
Watch for gurgling, slow drainage, or recurring backups; they’re your early warning signs. When you spot the pattern, you’re protecting your home and joining the group of owners who catch problems early.
Safe Unclogging Methods
Once you know the clog is likely from hair, grease, soap, or food buildup, you can try a few safe ways to clear it before calling for help. Start with a plunger; keep a tight seal and use firm, steady pushes.
If that doesn’t work, remove the trap under the sink and clear debris with gloves and a bucket ready. A drain snake can pull out deeper buildup without harming pipes.
For light grease, flush with hot water and dish soap, but skip chemical drain cleaners; they can damage plumbing and create hazards.
If water still won’t move, or multiple drains back up, stop and call professional plumbing services. You’ll protect your home, avoid bigger repairs, and handle the problem like a capable homeowner.
Patch Drywall
Got a hole, dent, or crack in the wall? You can patch it yourself and keep your home looking cared for. First, clean the area, cut away loose material, and choose a patch that matches the damage.
For small holes, apply joint compound over mesh tape; for larger ones, use a backing board and a drywall patch. Press it flat, feather the edges, and let it dry fully.
Sand lightly, then add another thin coat if needed. If you’re working with textured drywall, blend the finish with a sponge or spray texture so the repair disappears.
In damp rooms, use moisture resistant patches to help the fix last. Prime the spot, repaint, and you’ll restore the wall with confidence.
Tighten Doors, Cabinets, and Hardware
If a door sags, a cabinet feels loose, or a handle wobbles, you can usually fix it by tightening the fasteners before the problem gets worse. Start with a screwdriver and check every screw on hinges, pulls, latches, and brackets.
For hinge adjustment, tighten the top hinge first, then the others, and test the swing. If a screw spins, pull it out, fill the hole with a wood sliver or toothpicks, and reinstall it snugly.
On cabinets, secure the frame to the wall so doors line up and stay closed.
If a lock sticks, call for lock rekeying when the key no longer matches your home’s security needs.
You’re keeping your home solid, safe, and welcoming, one small repair at a time.
Swap Out a Light Fixture Safely
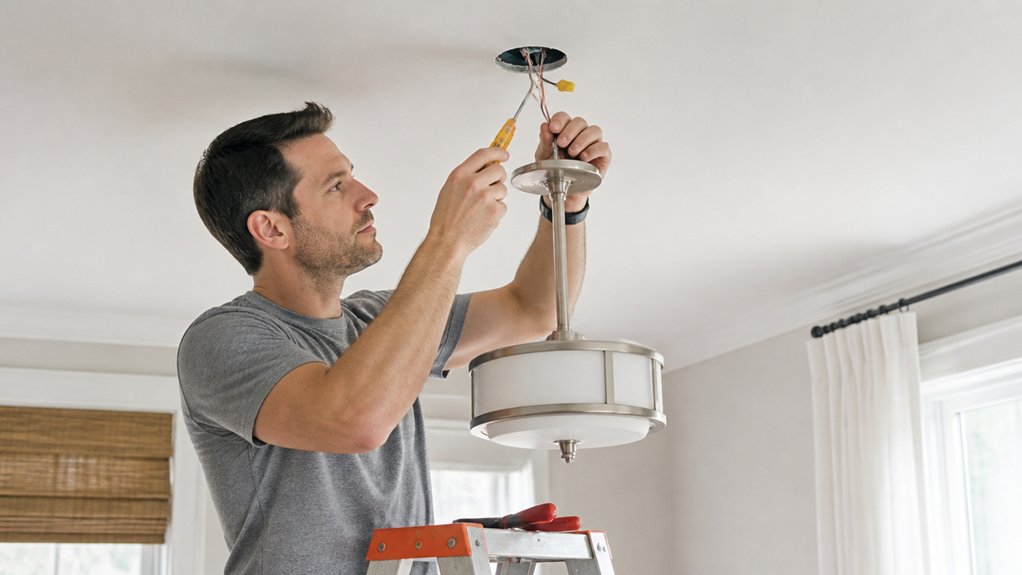
Before you replace a light fixture, shut off the breaker and confirm the power is dead with a noncontact voltage tester.
Then remove the old fixture, support its weight, and disconnect the wires one at a time. Match black to black, white to white, and ground to ground, unless the manufacturer labels say otherwise.
Tuck connections into the box, secure the mounting bracket, and install the new fixture snugly.
Choose a style that fits your lighting design and gives your room the right light.
Keep screws tight and glass clean as part of routine fixture maintenance.
If the box feels loose or the wiring looks damaged, stop and call a licensed electrician.
You’ve got this, and your home will feel better for it.
Stop Toilet Problems Early
Even a small toilet issue can turn into a bigger repair fast, so catch trouble early by watching for weak flushes, constant running, slow refill, and water around the base.
You can often fix toilet flushing problems by checking the flapper, fill valve, and chain before parts wear out. Tighten loose bolts, clear the rim holes, and replace worn seals so leaks don’t spread.
If the tank cracks or the internals fail again and again, plan a tank replacement before damage reaches the floor.
Stay alert after every use, because quick action keeps your home in the group of well-maintained homes, where small jobs stay small.
If you’re unsure, shut off the water and call a pro.
Fix Squeaky Floors and Trim
Start by pinpointing where the squeak or gap comes from, since loose subflooring, rubbing boards, and shifting trim usually need different fixes.
For a Squeaky floor, sprinkle powdered graphite into seams, then drive finish screws into joists through the subfloor to pull everything tight. If you can access the underside, add construction adhesive and wood blocks for extra support.
For nail pops, remove the nail and replace it with a screw.
For Trim repair, score paint lines with a utility knife, set loose pieces with finishing nails, and fill gaps with paintable caulk. Wipe away excess, then touch up with matching paint.
You’ll keep your home quieter, sharper, and more solid, and you’ll know you handled the repair like part of a capable crew.
About the Author


